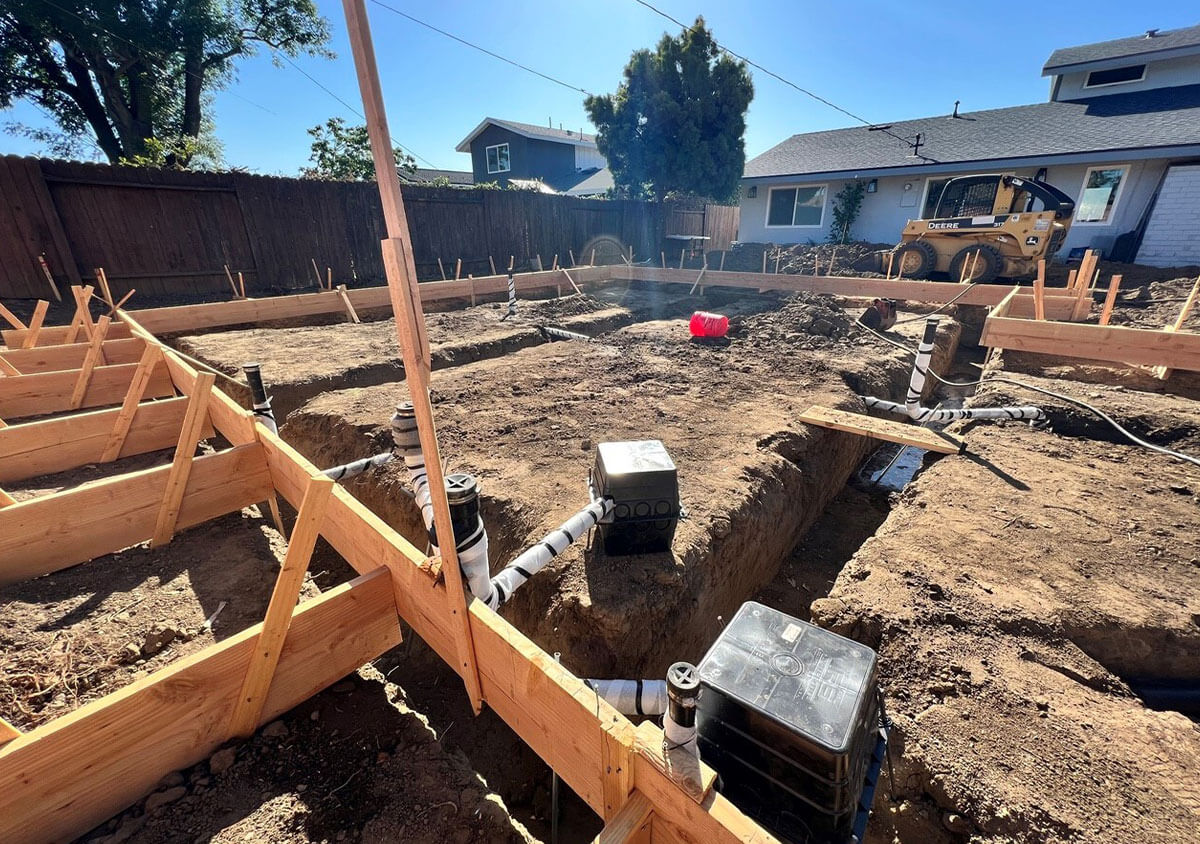
Adding an Accessory Dwelling Unit (ADU) to your California property unlocks a wealth of possibilities – rental income, multigenerational living, or extra space for hobbies and guests. But before your ADU vision blossoms, you need a solid foundation. And that foundation rests on a well-planned and efficient sewer system.
While plumbing intricacies may not be the most glamorous aspect of ADU construction, comprehending the process empowers you to make informed choices and guarantees that your ADU becomes a haven rather than a source of headaches. So, let’s explore the steps and factors involved in installing an efficient sewer system for your California ADU.
Step 1: Charting the Course – Planning and Permits
Before any pipes are laid, meticulous planning is vital. Partner with a reputable General Contractor for ADU construction specializing in California regulations. They’ll help you navigate the permitting process, ensuring your sewer system adheres to all local codes and environmental standards. This includes:
- Contact your local building department: Familiarize yourself with specific ordinances and required permits for sewer system installations in your area.
- Understanding existing infrastructure: Your contractor will assess your main sewer line and determine if it can handle the additional capacity of the ADU.
- Developing a site plan: This detailed blueprint outlines the sewer system’s layout, including pipe sizes, materials, and connection points.
Step 2: Pipe Power – Choosing the Right System
Once the plan is in place, it’s time to choose the pipes that will carry the wastewater flow. Opting for durable and efficient materials is crucial:
- PVC (Polyvinyl Chloride): A popular and cost-effective choice, PVC pipes are lightweight, corrosion-resistant, and easy to install.
- CPVC (Chlorinated Polyvinyl Chloride): Offering even better heat resistance than PVC, CPVC is ideal for areas with hot climates.
Step 3: Tapping In – Connection Options
Your ADU’s sewer system needs to connect to your existing line, and there are two main options:
- Direct Connect: This involves trenching and physically connecting the ADU’s sewer line to the main line. This is the most common and cost-effective approach.
- Sewage Ejector Pump: If your ADU sits below the level of the main sewer line, you’ll need a pump to push wastewater uphill. This option is more expensive but necessary for specific situations.
Step 4: Building it Right – Construction and Inspection
Now comes the hands-on phase, where skilled Construction company professionals bring your plans to life. Remember:
- Hire licensed and experienced plumbers: Ensure your contractor has the expertise and certifications to handle sewer system installations in California.
- Quality materials and artistry: Don’t skimp on materials or cut corners during construction. A well-built sewer system minimizes future leaks and repairs.
- Final inspection: Once the system runs, a qualified inspector will confirm it complies with all regulations and functions.
Bonus Tip: Embracing Efficiency – Sustainable Solutions
In California, water conservation is paramount. Consider incorporating eco-friendly practices like:
- Low-flow plumbing fixtures: Reduce water usage in the ADU with toilets, faucets, and showerheads designed for efficiency.
- Greywater systems: Recycle treated wastewater from showers and sinks for irrigation or other non-potable uses.
- Water-efficient landscaping: Choose drought-resistant plants and utilize drip irrigation systems to minimize water consumption.
By prioritizing efficiency and partnering with knowledgeable professionals, you can install a robust and sustainable sewer system that ensures your ADU thrives for years. Remember, a well-functioning sewer system is the silent hero behind a happy and healthy ADU experience. So, invest in quality, plan diligently, and watch your California ADU blossom into a beautiful and functional reality!
Contact Us at (949) 749-5250 for a complimentary consultation.


